Record video on pc

Screen recording on Windows offers many advantages. Whether at work, school, work or for personal use. You will be able to access a lot of things when you know how to record your computer screen. And what are these benefits?
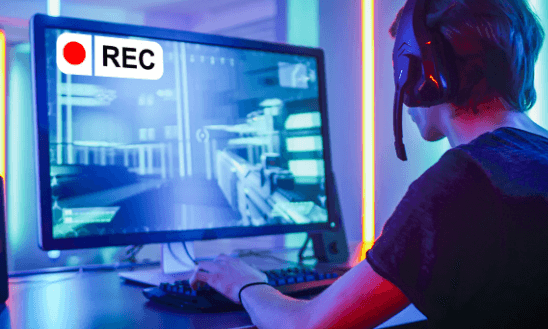
If you familiarize yourself with the simple methods of recording, you can record various movies, episodes of your favorite shows, vlogs, etc. on your computer for personal use. In addition to that, you can also film tutorials on tools or anything you use or do on Windows. If you are a gamer, reviewing your game through video recording greatly improves your skills. These are just some of the things you can accomplish by learning screen recording.
How to Record Video on Windows with iTop Screen Recorder
After extensive testing of various video recorders, iTop Screen Recorder established his number one spot. This tool allows you to record everything on your Windows computer screen. Whether it’s a video, tutorial, call or anything you want. It is not an average recorder because unlike others, it has unique features that make your video recordings more outstanding. Follow the steps below to learn how to record video on Windows and others with iTop Screen Recorder :
Step 1: Go to iTop Screen Recorder official website. You can download the installer file by clicking the Free Download tab at the bottom left of the page. Choose the language you prefer before clicking the Install button. While waiting for the setup to complete, the program will preview some features of the software. After that, launch it on your computer.
2nd step: You will see the various recording modes on the main interface of the program, including video recorder, audio recorder, game recorder, etc. At the bottom is the recording history, where you will find your releases. Alongside are the other options. The auto stop function allows you to automatically set a specific length or file size to stop recording. There is also Save Watermark you can enable customizing your own watermark. You can set them before clicking on the Video Recorder feature to continue the recording process.
3rd step: On the next interface, you can customize the options according to your recording preferences. If you want to record your entire Windows screen, choose Scan, then Applications if you want to adjust its size. You can also enable or disable the webcam, system sound, and microphone. Change the sounds by swiping left to lower or right to raise the sound on the volume sliders.
Step 4: If you click on the gear icon above, the settings will open. There are Record, Output, Sound, Camera, Mouse and Keystrokes, Hotkeys, etc. You can learn hotkeys on hotkeys to use the program more easily.
5th step: After the setup is done, you can finally click the REC button at the end of the interface to start recording your Windows computer screen. While recording, you can pause and resume recording if you want to skip a part. You can also use the edit options to highlight some of them. Finally, save the file to your preferred destination folder.
